Packdown Instructions
Here are instructions on how to packdown the Glow Booth.
Preparation
RETRIEVE the props storage box and the stand bag from underneath the props table.
UNPLUG the photo booth from the wall power outlet.
Remove Flash
REMOVE the umbrella from the top of the booth by grabbing onto the umbrella pole and pulling it directly away and outwards from the camera flash.
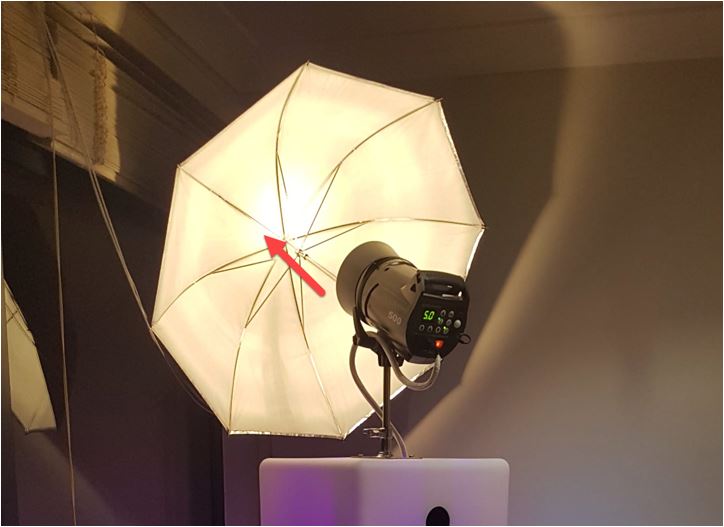
FOLD umbrella and place within the stand bag.
DISCONNECT flash power cable.
REMOVE the flash from the flash mount pole by loosening the small thumb screw and lifting flash unit upwards.
REMOVE the flash mount pole by loosening the unit via the handle on top of the photo booth box.
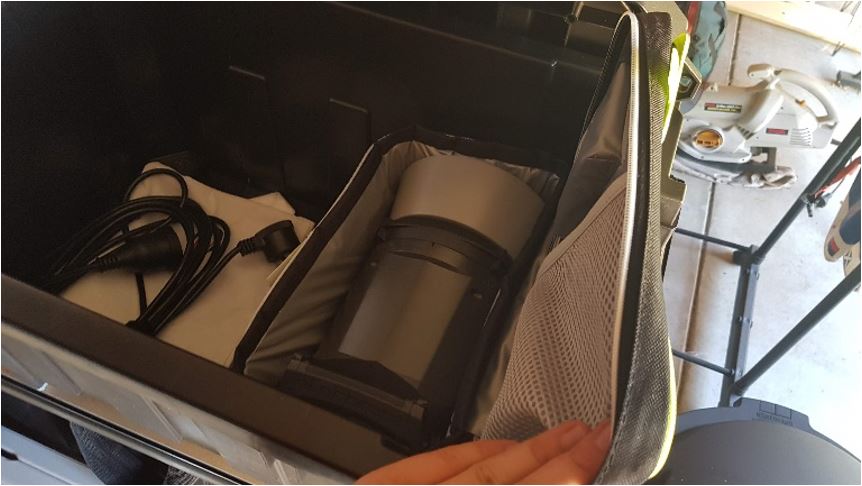
STORE the flash and flash mount pole in the ESKY cooler inside the props box.
Disassemble Booth
On the main photo booth stand, BUNCH UP the white fabric to the centre to expose the top and bottom of the aluminium stand.
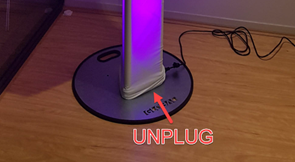
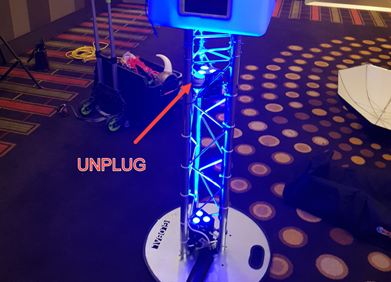
UNPLUG the electrical cable of the booth at the base of the booth. Cable may be hidden underneath the light within the bottom of the stand.
Using the hammer (located in end pocket of the stand bag), REMOVE the three metal pins located at the top and the three metal pins located at the bottom of the aluminium stand.
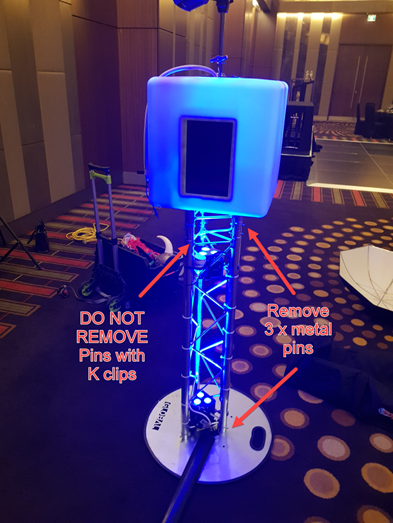
Only remove the three pins without the “K” shaped retaining clips. The pins which have the “K” shaped retaining clips are permanently installed.
PLACE the six removed pins and the hammer into the end pocket of the stands bag and zip closed.
UNPLUG the electrical cable which connects between the top booth box and the metal stand.
Gently LIFT the top section of the booth from the stand and set aside. The booth box can be carried from the metal fitting on the top of the box.
REMOVE and FOLD white cloth stand cover and set aside.
LIFT the stand from the base plate and place stand inside the black stand bag.
Remove Cables
If black rubber cable covers are installed, REMOVE the cable from the cover by pulling cable out and place black cable cover inside stands bag. Dust off/clean if necessary.
COIL all power cables, secure with Velcro tie (if provided) and place inside the stands bag.
Disassemble Backdrop
LOWER the backdrop by loosening the thumb screws on the backdrop stand. Lower the backdrop by alternatively lowering each side approx. 0.5 m.
SLIDE the backdrop off the top backdrop pole. NOTE this may require removing the bolt(s) on the top of the backdrop stand.
DECONSTRUCT top backdrop pole into the three segments and PLACE into stands bag.
COLLAPSE the two backdrop stand tripods and PLACE into the stand bag.
FOLD backdrop and set aside. There may be a bag that the backdrop can be stored in.
Pack Away Props
PLACE props from table into the black props box taking care not to squish/break props. Some items may be too large for the box and will need to be carried separately.
FOLD tablecloth and place gently on top of props in black props box.
ADD the white cloth cover to the black props box and close the box.
COLLAPSE props table. (Two push-in pins on each side to shorten the leg, then press the angled bracket inwards on both sides of leg at same time to fold leg into the table. Flick red switch in middle of table to allow table to fold in half)
Complete Packdown
CARRY items to the car. If completing as single person this will take several trips.
Perform a final CHECK of the setup location that no items have been left behind.
INFORM Glow Booth staff of any damage or if any maintenance is required.